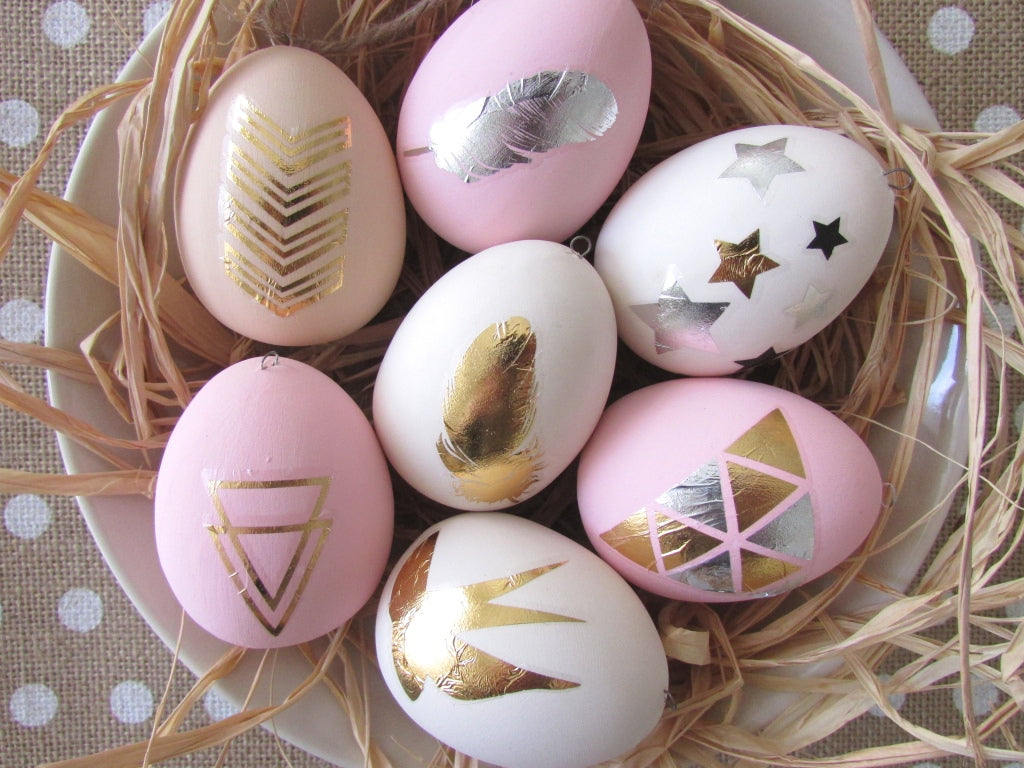
How to decorate Easter Eggs with our metallic tattoo
Share
What began during the Paris Summer Fashion Week as a ramp trend, now has caught on like wildfire across the globe.
As ‘metallic temporary tattoos’ make their entree into mainstream fashion, right from the pretty blondes to the sassy brunettes, men and women across all age groups are now wearing them. Blame it on the look or the style, the innovation and creativity or the fact that ‘metallic temporary tattoos’ are known as ‘attention-getters’ too, everyone is intrigued by their beauty and wouldn’t mind having them on the skin to flaunt.
What better way to celebrate Easter by decorating Easter eggs with temporary tattoos. There are a million and one different ways to decorate eggs, but if you’re looking for something a little bit different then you have to try your hand at these eggs that use metallic temporary tattoos to decorate them.
They might be the most elegant Easter decoration ever made and the easiest!
What you need:
- Eggs
- Acrylic paint (optional)
- Metallic Tattoo
- Scissors
- Paint brush/cotton
How to make:
- Start by painting your egg with the acrylic paint . If you prefer you can leave your egg plain.
- Leave to dry.
- Cut out the tattoo you would like to use on your egg.

-
Remove the plastic film and then position on the egg with the design facing down.

- Using a paintbrush/cotton, apply water over the tattoo paper, holding in place with your thumb. Wait for a minute for the tattoo to transfer onto the egg.

-
Carefully remove the paper, leaving the tattoo transfer on the surface of the egg.If there are any parts of the transfer that haven’t quite stuck to the egg use your paintbrush to secure it.

- Once you’ve nailed down the process, you can decorate the rest of the eggs. After a few minutes of tattooing and dying, you will have an entire basket of fun decorated eggs.


